


 English
 Español
 Français
Home / News / Industry News / Biological Indicators for Autoclaves: Specs, Placement, and Failure Response
News


Biological Indicators for Autoclaves: Specs, Placement, and Failure Response
 2026.10.28
 Industry News
A positive spore result rarely arrives at a convenient moment. It usually shows up 24 to 48 hours after the load has already been released, which is exactly the tension built into biological indicators for autoclaves: they are the most trustworthy evidence a sterile processing department has, and they are also the slowest.
The short version: a biological indicator is the only routine check that proves an autoclave actually killed something highly resistant. The cycle printout, the chemical strip and the Bowie-Dick pack describe conditions; the BI describes the outcome. A pass is meaningful only for the cycle, the load pattern and the placement that were tested.
What follows is the working detail — what the numbers on the label mean at the purchasing stage, where the device belongs inside the chamber, how often to run it, and how to react when growth appears.
Content
- 1 What a Biological Indicator Proves — and What It Does Not
- 2 Reading the Label: The Numbers That Matter at Purchase
- 3 Where the BI Belongs in the Load
- 4 How Often Should an Autoclave Be Spore Tested?
- 5 When the Test Comes Back Positive
- 6 Sourcing Indicators, Readers and Sterilisers From One Supplier
- 7 Frequently Asked Questions
What a Biological Indicator Proves — and What It Does Not
A biological indicator is a carrier — a paper strip, a stainless-steel disc, or a sealed vial of recovery medium — inoculated with a defined population of bacterial spores whose resistance to the target process has been measured and certified. For saturated steam that organism is Geobacillus stearothermophilus (ATCC 7953), chosen because its spores withstand moist heat better than the vegetative bacteria and viruses the process is meant to destroy. ISO 11138-3 sets the requirements for these moist-heat indicators: a nominal population of roughly 1.0 × 10⁶ colony-forming units, a stated D-value at 121 °C, and a defined survival–kill response window. After exposure the indicator is incubated at 56 to 60 °C and read for growth, usually as turbidity or a fluorescence/pH change.
Survivor curve for a moist-heat biological indicator (schematic)
Schematic only: each D-value removes one log of survivors; a passing BI shows no growth at all.
The limits matter as much as the result. A negative BI tells you that at one point in the chamber, in that particular load, the cycle delivered enough lethality. It does not tell you where the coldest point was, it does not clear a different packaging pattern, and it does not replace the air-removal test that catches a failing vacuum pump. If your team also reads chemical indicators, it is worth knowing what color changes in sterilization indicators really mean — they answer an entirely different question.
| Monitoring layer | Question it answers | Where it sits | What it cannot tell you |
|---|---|---|---|
| Physical monitoring | Did the chamber reach the set temperature, pressure and time? | Chamber probe, drain probe, cycle printout | Whether steam actually penetrated the pack |
| Chemical indicator | Did this pack see the required conditions? | On or inside each pack | Whether the resistant organisms actually died |
| Biological indicator | Did the cycle kill a known resistant population? | Worst-case position, often in a PCD | The exact location of the cold spot in every load |
Reading the Label: The Numbers That Matter at Purchase
Most purchasing mistakes come from comparing price per unit instead of comparing resistance, format and documentation. Five specifications decide whether a BI is a fair challenge for your cycle:
Standard and clearance
Look for ISO 11138-1 (general) and ISO 11138-3 (moist heat), plus the regulatory clearance that applies in your market. A certificate that only says "sterility indicator" is not enough.
Nominal population (N0)
Typically 1.0 × 10⁶ CFU. Confirm the figure on the lot certificate of analysis, not just on the box artwork.
D-value at 121 °C
The time to cut the population by 90 percent. ISO 11138-3 requires a D121 of at least 1.5 minutes; commercial products usually sit between 1.5 and 3.0 minutes. Higher is a harder challenge, not automatically a better product.
Survival and kill window
The labelled survival time must be shorter than your exposure time, and the kill time must be longer. If the window does not bracket your cycle, the test proves very little.
Two further points decide day-to-day usability. Format: self-contained vials with the medium sealed inside are the easiest for routine work, plain strips need separate recovery medium and a controlled incubation step, and rapid-readout indicators use enzyme or fluorescence detection to give an answer in one to three hours instead of the conventional 24 to 48. Storage: keep the unopened box dry at the temperature stated in the instructions for use, never frozen, and away from ethylene oxide or chemical fumes, which can kill spores on the carrier and produce a false pass.
For a closer look at the formats available from a single manufacturing source, see the  Self-Contained Biological Indicators for Sterilization MonitoringIntegrated SCBIs with ATCC 7953 spores and fluorescent readout in 30 minutes; suited to placement at hard-to-reach load points.View Product →
Where the BI Belongs in the Load
Placement is where most programmes quietly lose their value. The indicator belongs at the position that is hardest for air and steam to reach — a point established during performance qualification, not guessed from a manual. In practice that means the geometric centre of a full load, or the drain side of the chamber when testing an empty one. A process challenge device (PCD) adds a defined diffusion barrier so the test is genuinely harder than the routine load, and it is normally laid flat on the lower shelf near the door end.
Cut-away view: placing a PCD with a biological indicator
The dashed outline is the door opening; the orange block is the test device sitting on the lower shelf at the least accessible position.
Three practical rules keep the test honest. Never place the indicator against a chamber wall or under a heavy tray, where it fails for reasons unrelated to the cycle. Always package it in the same wrap or container as the real load, so the steam has to work just as hard. And re-run qualification whenever the load pattern, packaging or tray configuration changes, because a placement that was worst-case for yesterday's load is not automatically worst-case today.
How Often Should an Autoclave Be Spore Tested?
AAMI ST79 recommends at least weekly testing and preferably every day the steriliser is used; the CDC guideline for disinfection and sterilisation takes a similar position. National and local requirements may be stricter, and the stricter rule always governs. Beyond the routine interval, a BI is expected after installation or relocation, after a major repair to the chamber, door or vacuum system, after any failed test, and for every load containing implants — with the load quarantined until the result is negative.
- Routine: at least weekly, daily where throughput or accreditation demands it.
- Implants: every load, with a Class 5 chemical indicator in the same pack.
- Events: new steriliser, major repair, process change, failed result.
- Records: lot number, cycle number, incubator, operator and result, kept for audit.
When the Test Comes Back Positive
Treat the result as a real process failure until it is proven otherwise. The load is not sterile, and neither is anything processed since the last confirmed negative test.
- Quarantine the load and stop releasing product from that steriliser. If items have already been used, inform infection control and follow the recall procedure.
- Repeat the test with a fresh indicator from the same lot in three consecutive cycles, as the CDC protocol describes, and include a control from the same lot.
- Rule out indicator handling errors first: expired product, storage in a hot vehicle or a cold store, medium not activated, incubator drifting outside 56 to 60 °C, or a reading taken too early.
- Review the physical data, the Bowie-Dick result, packaging, load density and steam quality before blaming the machine.
- If repeats remain positive, take the steriliser out of service and require three consecutive negative cycles before it returns to routine use.
Sourcing Indicators, Readers and Sterilisers From One Supplier
Buying indicators from one vendor, the incubator from another and the steriliser from a third works, but it splits responsibility when a result is disputed. A single source shortens the investigation because the resistance of the indicator, the calibration of the reader and the performance of the chamber are documented in one place.
Eray Medical Technology (Nantong) Co., LTD., is a medical device manufacturing enterprise integrating research and development, production, and sales. The company is located in Rudong Economic Development Zone, adjacent to Shanghai, with convenient transportation, and developed information. As a professional medical devices manufacturer and medical consumables factory, the company covers an area of 70 mu, with a construction area of 20,310 square meters. It has an ISO Class 8 cleanroom, an ISO Class 7 microbiological laboratory, and a partial ISO Class 6 physical and chemical laboratory.
Eray has established a comprehensive quality control system that encompasses the entire production process, including testing and traceability, from the ISO Class 8 cleanroom to a partial ISO Class 6 physical and chemical laboratory, ensuring that every customer receives trustworthy products. The sterilisation indicator range covers biological indicators, chemical indicator cards and labels, indicator tape, Bowie-Dick test packs, batch control helix test kits and nonwoven sterilisation wrap, alongside the autoclaves and automatic readers that go with them.
Reading a strip or a vial by eye at the end of a shift invites transcription errors. An 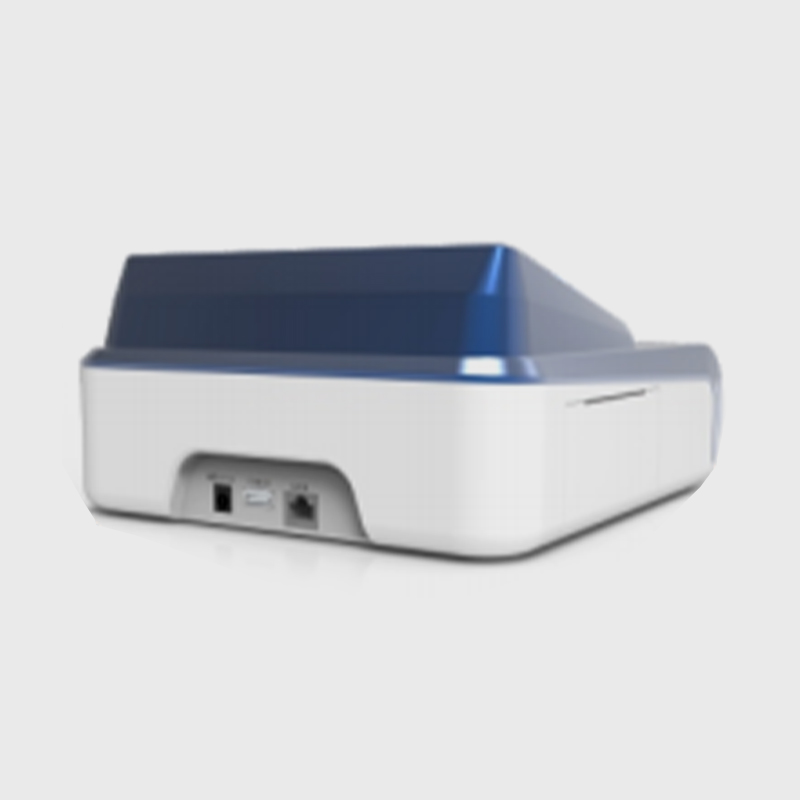 Automatic Biological Reader for Sterilization Indicator IncubationAutomated fluorescence reader for BI-3, BI-8, BI-10 and BI-12 models, with recorded results and traceability to reduce manual transcription errors.View Product → holds incubation temperature, reads fluorescence and writes the result against the cycle number, which is precisely the evidence an auditor asks for. Where the chamber itself is due for replacement or expansion, the
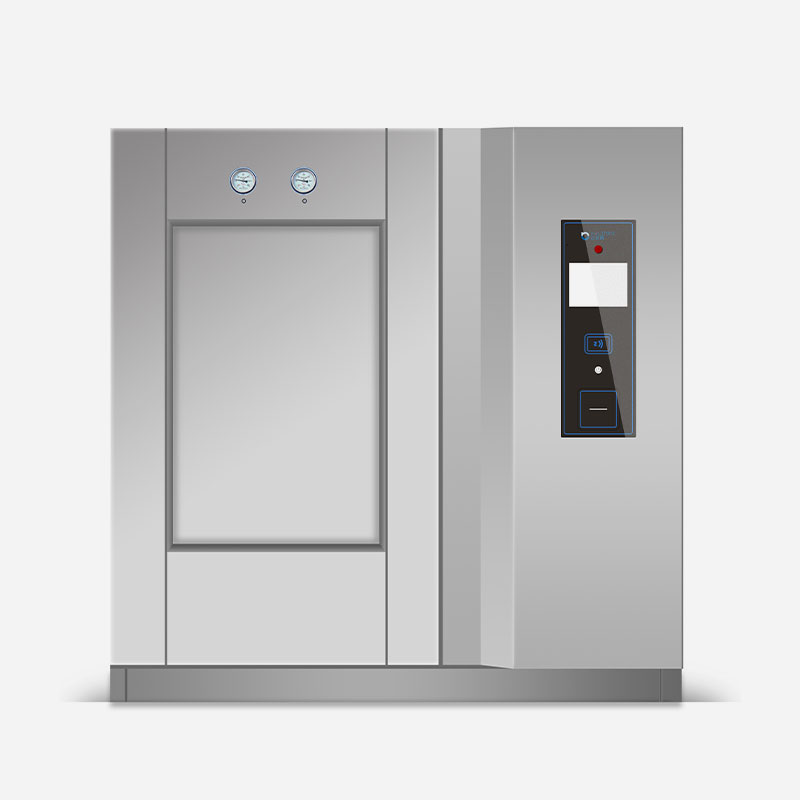 NS Series Steam Sterilizers for Medical EquipmentPulsating-vacuum steam sterilizers with 360–1500 L chambers and AISI 316L squared designs, relevant when specifying chamber replacement or expansion.View Product → range is specified to match the same indicator programme, so the survival–kill window and the cycle parameters are designed as one system rather than assembled after the fact.
If you are comparing formats, incubation times or documentation packages, talk to the team with your cycle parameters and load types in hand; matching the indicator to the cycle is a five-minute conversation when the specifications are on the table.
Frequently Asked Questions
Q1. How often should an autoclave be spore tested?
AAMI ST79 recommends at least weekly and preferably every day the steriliser is used. Every load containing implants needs a biological indicator, and local rules may require daily testing.
Q2. Why is Geobacillus stearothermophilus used?
Its spores resist saturated steam more strongly than the organisms a cycle must destroy, so a kill demonstrates a genuine margin of safety rather than a marginal pass.
Q3. Can a biological indicator be read without an incubator?
No. The organism needs a controlled 56 to 60 °C, and a drifting incubator is one of the most common causes of a false positive or a false negative result.
Q4. What is the difference between a BI and a chemical indicator?
A chemical indicator changes colour when the right conditions were present. A biological indicator shows whether resistant spores actually died. One cannot replace the other.
Q5. How should biological indicators be stored?
Dry, at the temperature stated in the instructions for use, never frozen, and away from ethylene oxide or chemical fumes that can kill spores on the carrier before the test begins.
Q6. What if a spore test turns positive?
Quarantine the load, review the physical and chemical data, and repeat with fresh indicators in three consecutive cycles. Keep the steriliser out of service until three consecutive negatives are recorded.
Related Products

If you are interested in our products, please consult us
CONTACT DETAILS
- Address : 116 Weihe Road, Rudong County Economic Development Zone, Nantong City, Jiangsu Province,China
- TEL: : +86-18362400158
- Email: : jayne@eraymedtech.com
PRODUCTS
NEWS CENTER
MOBILE TERMINAL
Copyright © 2025 Eray Medical Technology (Nantong) Co., Ltd.
All Rights Reserved. The information provided on this website is intended for use only in countries and jurisdictions outside of the People's Republic of China.
 Medical Devices Manufacturers
Medical Consumables Factory
 CONTACT US
